Intro
Working on a Rails application that moves several mission-critical functionalities into background-worker-jobs (like lengthy cron jobs or generating PDFs), one basic approach would be to use one of the many simple background queue libraries that are available, and the first address nowadays would be Sidekiq. However, as this blog post has it nicely, the free version of Sidekiq could not be suitable when you are depending on 'no matter what' persisted jobs, and the evaluated third-party gems for batch- or interdependent jobs with Sidekiq were not applicable, to say the least.
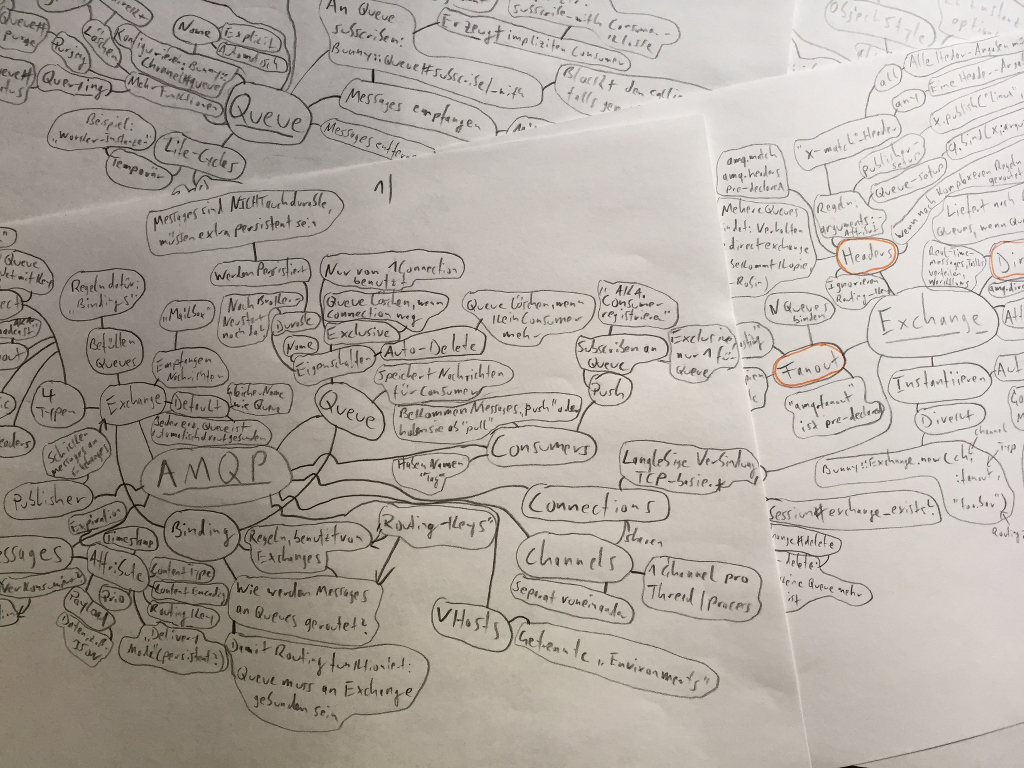
A presentation at our local Ruby user group had the focus on RabbitMQ as a more reliable, highly performant worker queue. Since RabbitMQ is a message broker for the AMQP protocol, a first dive into the RabbitMQ documentation and available AMQP libraries for Rails is just overwhelming. There are two gems (Bunny and AMQP) that seem to do the exact same thing, the docs seem just duplicated and there is no overall "recipe" for just getting minimal queue functionality into a standard Rails application. Not to mention the somewhat 'comprehensive' nature of the AMQP protocol itself:
Not too, complex, huh?
To ease things up and have a not-so-steep learning curve I decided to 'conquer' the complexity of AMQP by implementing small parts of needed functionality as features of little toy applications, namely a Java program as message producer "RabbitMQTestdriver" and an accompanying Rails application "rabbitmq_showcase" which consumes and presents the messages RabbitMQ was processing. You should have a quick look at the GitHub repos right now to get an overall idea of what I was trying to accomplish. On the quest to replace Sidekiq with RabbitMQ I had to dig into several topics, I learned a few lessons and produced some code. I will present my findings and programs as a series of blog posts, starting with this one about setting up RabbitMQ. Further blog posts will cover how to get basic messaging between the Java program and the Rails app running, how RabbitMQ deals with filtering messages by criteria, how to get a basic worker queue running, and finally how to implement interdependent workflows, error queues and deferred message queueing using Sneakers.io.
Getting started
To make things even more interesting (and to get ahead of later headaches) I did set up a virtual machine running Ubuntu 14.04.2, because running RabbitMQ on the local machine with the standard-user guest/guest and vhost=/ settings is just lame. As a bonus I see the real implications of my tinkering as if would be on a real remote machine. (Also, I set up the Rails app to use Unicorn as development server as the app would be configured in a production setting, but more about that later). As usual, I run the VM in bridged mode to be reachable with an 192.168.0.x IP in my local network, and installing RabbitMQ as apt package works just fine. Since the guest/guest user can only connect to the broker via localhost, I use the rabbitmqctl command to manage users and permissions. I add a new user and set his permissions to be a "manager":
sudo rabbitmqctl add_user ubuntu ubuntu
rabbitmqctl set_permissions -p test ubuntu ".*" ".*" ".*"
rabbitmqctl set_user_tags ubuntu management
If not already activated, the management-plugin should be enabled to access the nice RabbitMQ management GUI:
rabbitmq-plugins enable rabbitmq_management
The "ubuntu" user should now be able to log in on http://VM-IP:15672.
RabbitMQ features complete separate "environments" called virtual hosts. Each virtual host has his own set of queues etc. living inside it, and the virtual hosts won't interfere with each other. I created a new virtual host called "test" which will be used with the sample applications:
rabbitmqctl add_vhost test
To be able to move messages beween queues, the "shovel"-plugin has to be enabled:
rabbitmq-plugins enable rabbitmq_shovel
That's all for the introduction, the next blog post will cover first steps with the "Bunny" gem and basic message producing/consuming.